
Unboxing
Contents
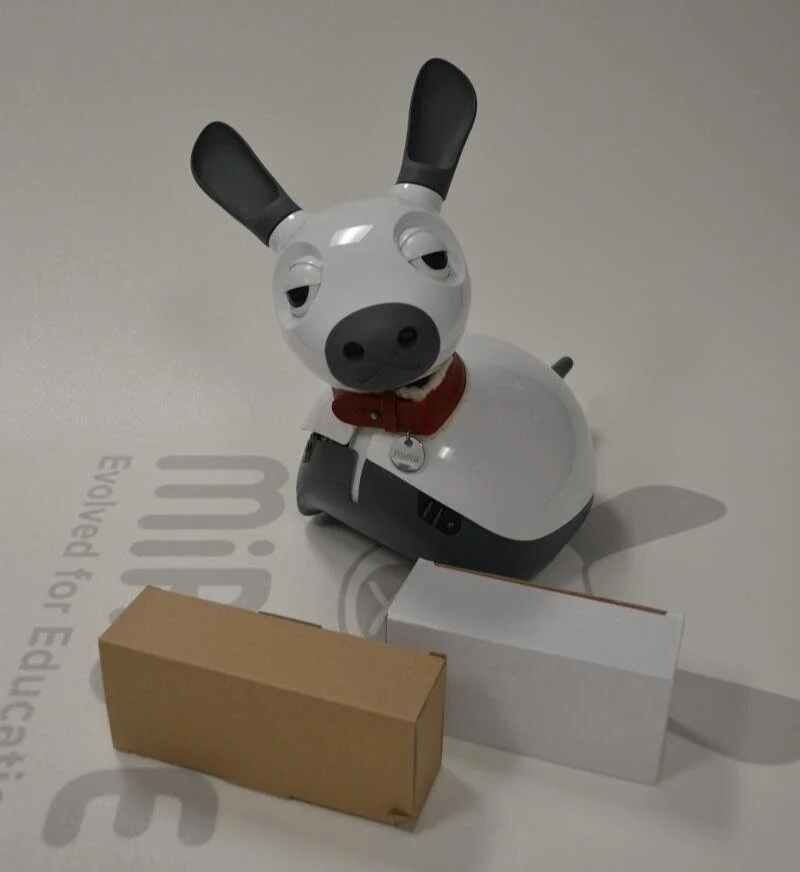
The contents of the box are shown in the image: one robot, one charger, and one box of accessories.
When you have checked the contents of the box, you can proceed to Power Up your robot.
The box includes a cut-out for storing a second battery pack if you have one.

Robot
The robot itself arrives fully assembled except that the battery pack, installed under the battery cover, will not be connected. Instructions for connecting the battery pack are on the Power Up page.
Charger
MiRo is supplied with a dedicated battery charger—you should only use this charger with your robot.
Depending on your region, the mains cable will come with an appropriate plug (the image shows the UK variant).
Do not plug in the charger when the robot is turned on (any lights are illuminated) since this will cut the power to the robot.
Shut the robot down first.
Accessories
MiRo is supplied with the following accessories.
Head opening tool (required to separate the two halves of the head shell, see Head shell).
Battery pack charge cable (required to charge a battery pack "off robot", see Power Up).
Spare plastic rear slider and alternative steel roller for use with rough floor surfaces (see Rear slider).
Spare screws (various, in case any get lost during maintenance).
Spare cable ties (to re-secure cabling if it is necessary to release any during maintenance).
Two electrical "jumpers" (these are only required if instructed by a support engineer).


Battery pack

One battery pack is supplied inside the robot—if you have ordered a second battery pack, you will find it in the space provided in the box.